How to create a Lesson using the Conversation with two Participants Type?
You can use the Conversations component to create Conversation with two Participants type. In this type of conversation, there is only one questioner and only one answerer. You can present some important topics in your lessons as conversations using this component.
When to use this Type
This component will be very helpful when you want explain so many things to your students in a conversation style. This can be used as a conversational style of the multichoice questions with feedback.
How it works
-
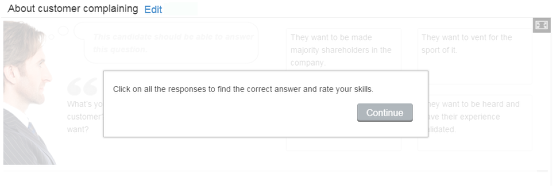
User reads the introduction and instruction texts which appear on the modal screen and clicks the Continue button to go to the conversation.
-
The user can see the questioner's image, initial thought and initial question on the left side of the page.
-
The user clicks on any one of the given answers in boxes at the right side of the page.
-
For each selection, the user can see the questioner’s thoughts and responses.
-
The user can see a feedback for each response on the lower half of the screen, along with the selected response.
-
He/she can also see the ratings for the skills in two scales at the bottom of the page depending on the response selected.
-
When the user clicks on the correct answer, it will be highlighted in green.
-
If he/she has selected any wrong answer, it will be highlighted in blue.
-
The user can explore all the responses to find the feedback and rate their skills.
Once you are in the slide in which this type of conversation should be added, you can create it by following the below steps.
Step 1: Add First and Second Questioner's Name (Optional)
Type the name of the first questioner on the First Questioner's Name [1] field as shown in the above image. You can also change the format of the name. Similarly, you can add name to the Second Questioner's Name field. However, you can leave these fields blank, since these names won't appear for a question with 2 participants.
Step 2: Add Initial Questioner's Image
Add an image of the initial question's questioner by clicking the '+' icon under the Questioner's Image icon as shown in the above image. You will choose an image file as shown in the below image.
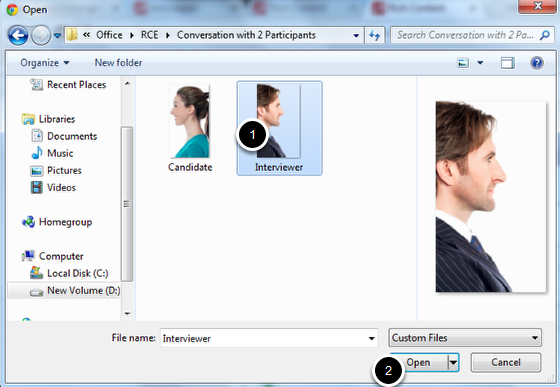
On the above screen, select the required image [1] and click the Open [2] button.
You can see the image being uploaded as shown in the above image.
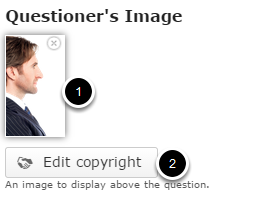
Once the image has been uploaded, it will be shown under the Image title as shown [1] in the above image. Optionally, you can update the copyright details of the uploaded image by clicking the Edit copyright [2] button shown above. Once you click the button, you will see the below screen.
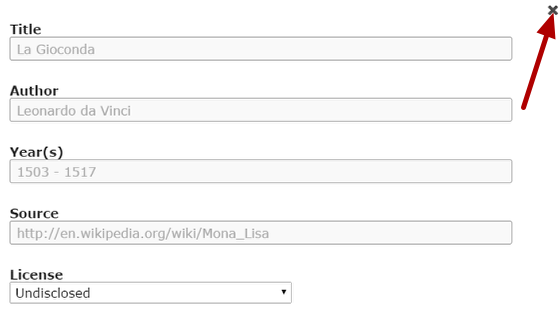
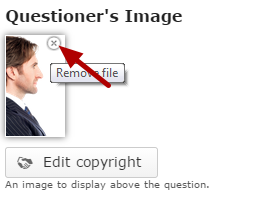
You can enter the image's copyright details on the above screen and click the Close button to update it. You can remove the uploaded image by clicking on the Remove file button shown on the below image.
You will be prompted to remove the image as shown in the below image. Click OK to confirm and remove the image.
You can also update the image without removing it by clicking on the image.
Step 3: Add First Skill's Name
Type the first skill's name of the page on the First Skill's Name field as shown in the above image. You can also format the contents. This field is mandatory.
Step 4: Add Second Skill's Name
Type the second skill's name of the page on the Second Skill's Name field as shown in the above image. You can also format the contents. This field is mandatory as well.
Step 5: Add Initial Question
You can add a question to the initial question field as shown in the above image. Just type the question in the Initial Question field as shown in the above image. You can also change the format of the text, add and remove hyperlinks and insert horizontal lines between the contents.
Step 6: Add Initial Thought
Type the text in the Initial Thought field as shown in the above image. You can also change the format of the text, add and remove hyperlinks and insert horizontal lines between the contents.
Step 7: Randomize Answers (Optional)
By clicking the Randomize Answers checkbox, you can make the answers to be displayed in an arbitrary order every time the page is loaded. This option is optional, and so tick the checkbox if you need so.
Step 8: Make sure the Single Questioner Checkbox is checked
Make sure you check the Single Questioner checkbox. Because, it is necessary to check it to have the initial question and initial answer appear appropriately.
Step 9: Update Modal Screen Information (Optional)
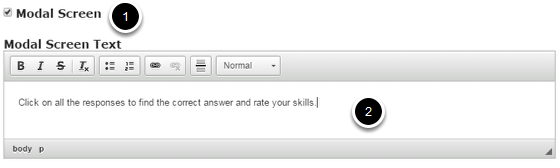
If you click the Modal Screen [1] checkbox, some text in a modal window will appear at the beginning of the conversation. You can place some introduction or instruction texts on the modal screen.
You can add text to the Modal Screen Text field as shown in the above image. Just type the text in the Modal Screen Text [2] field as shown in the above image. You can also change the format of the text, add and remove hyperlinks and insert horizontal lines between the contents. Please note that this field is not mandatory.
Step 10: Enter the Answers
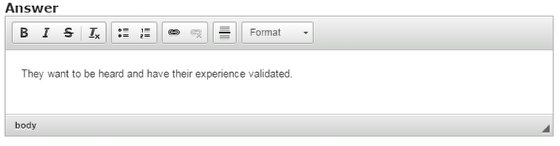
Under Available Answers title, we can add the answer options the user can choose from. Four empty available answers are listed initially by default. Start entering the answers in the Answer field as shown in the above image. You can also change the format of the text, add and remove hyperlinks and insert horizontal lines between the contents.
Step 11: Upload Questioner's Image
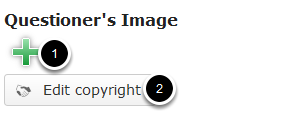
You can add an image of this question's questioner by clicking the '+' button below the Questioner's Image [1] title and edit it's copyright details by clicking the Edit copyright [2] button shown above.
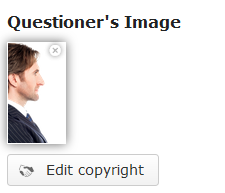
You can see the uploaded picture of the questioner in the above image.
Step 12: Check Correct Answer Checkbox (Optional)

If the answer you are editing is the correct answer for the question asked, check the Correct Answer checkbox shown above.
Step 13: Make sure Single Questioner Checkbox is checked

Since we are creating a conversation with only two participants, we need to check the Single Questioner checkbox as shown above.
Step 14: Add Speech Bubble Text
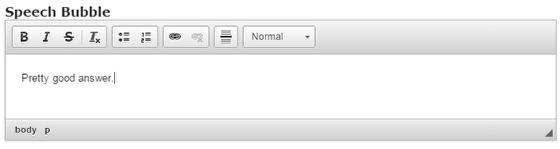
You can add contents to the speech bubble field as shown in the above image. Just type the contents in the Speech Bubble field as shown in the above image. You can also change the format of the text, add and remove hyperlinks and insert horizontal lines between the contents.
Step 15: Add Thought Bubble
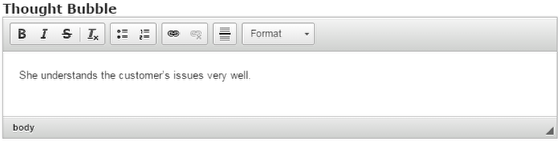
Type the contents in the Thought Bubble field as shown in the above image. You can also change the format of the text, add and remove hyperlinks and insert horizontal lines between the contents.
Step 16: Enter the Feedback
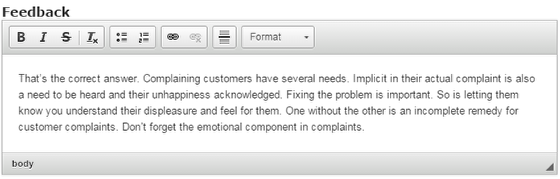
This feedback appears when the user selects answers for each attempt. Type the contents in the Feedback field as shown in the above image. You can also change the format of the text, add and remove hyperlinks and insert horizontal lines between the contents. Please note that this field is mandatory.
Step 17: Choose Skill Levels
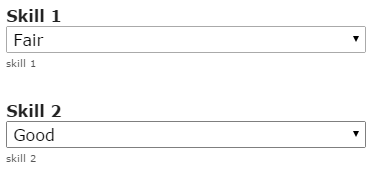
Choose the Skill 1 and Skill 2 levels from the respective drop down boxes as shown in the above image. 4 levels of skills are available and they are:
- Poor
- Fair
- Good
- Excellent
After selecting the answer, the user can see the ratings for the skills in two scales depending on the response provided. By default, the skill is set to Poor.
Step 18: Finalize the Responses
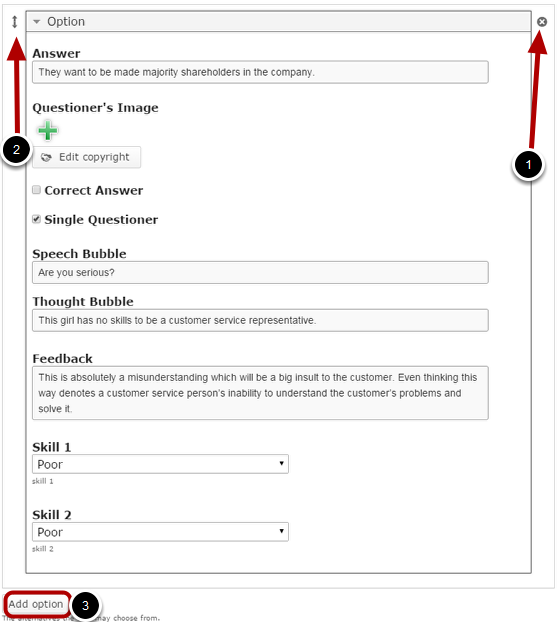
By default, there are four answers available at the beginning. You won’t be able to add more answers. However, you can remove any updated answers by clicking the X [1] button on the top right corner of the Option window. If you have less than 4 answers, you can add more answers by clicking the Add option [3] button shown above. You can also change the order of the answers by dragging the Double Headed Arrow [2] button on the top left corner of the Option window.
Step 19: Click the Done Button

Once you've updated all the details, click the Done [1] button shown above to complete editing the page. You can cancel creating the page just by clicking the Remove [2] link shown above. If you click the Done button, you will see the below screen with a preview of the created page.
Step 20: Click the Create Button
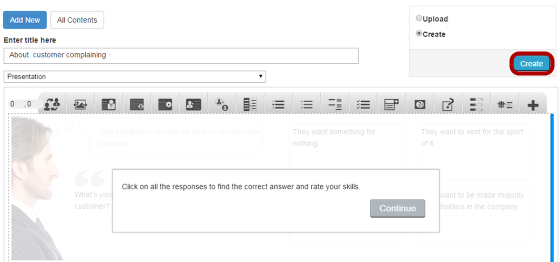
If you still want to edit the page, just double click on the preview page, and you will be taken to the Edit page. If you've done all the changes, you can click the Create button as shown above picture to finish editing the page.
You can see the finished page created with “Conversation with two Participants” type as shown in the above image.
Notes
-
You can create as many pages as possible in a Presentation using this component.
-
Make sure that you have enabled the Single Questioner checkbox at each option.
-
You can upload images only in .jpg, .png and .gif formats.
-
If you don’t upload any picture for an individual answer, the picture uploaded for the initial question’s questioner will be shown for that answer. So, it’s not necessary to upload pictures for each answer.
-
The answerer’s image cannot be changed for questions. It remains the same for all the questions.
-
If you’ve added text for the modal window and failed to check the Modal Screen checkbox, the modal window won’t appear. So, make sure that you check this checkbox if you want to add a modal screen.
-
You should provide at least one answer.